Very Best Drywall Contractor Fresno: Top Quality Workmanship Assured
Wiki Article
The Basics of Drywall Setup: A Detailed Overview
Welcome to "The Basics of Drywall Installation: A Detailed Guide." Whether you are a home owner seeking to tackle a DIY project or a professional specialist seeking to enhance your abilities, this thorough overview will certainly give you with the crucial knowledge and techniques to efficiently set up drywall. From the preliminary prep work to the complements, we will certainly stroll you with each step of the procedure in a succinct and clear way. By following our professional instructions, you will find out exactly how to reduce and gauge drywall properly, securely install it, and achieve a specialist and smooth surface. With the right tools and materials, this guide will empower you to attain remarkable cause your drywall installment undertakings.Tools and Materials
Another important thing is a drywall screw weapon, which is especially developed for swiftly and firmly securing the drywall panels to the studs. A cordless drill with a screwdriver add-on can additionally be made use of for this objective. In addition, a drywall hammer is essential for driving nails right into the panels and for touching them into location.
In terms of materials, drywall tape is necessary for reinforcing the joints between the panels, avoiding fractures and making sure a smooth surface area. Joint compound, also referred to as mud, is utilized to cover the seams and develop a seamless coating. Sandpaper is then made use of to ravel any type of blemishes and produce an uniform surface area.
Preparing the Workplace
To start the procedure of drywall setup, it is crucial to prepare the workspace in a organized and precise way. Proper preparation makes certain a smooth and effective installment procedure, decreasing the risk of delays or mistakes. The very first action in preparing the workspace is to remove the area of any kind of furnishings, fixtures, or various other obstacles that may prevent the installation procedure. This includes removing paintings, mirrors, and any type of other wall designs.
One more critical aspect of preparing the workspace is making certain proper lights and air flow. Ample lighting will certainly permit much better visibility during the installment process, minimizing the opportunities of accidents or errors. Good ventilation is necessary to prevent the accumulation of dirt and fumes, which can be hazardous to the health and wellness of the installers.
Lastly, it is necessary to gather all the necessary tools, devices, and materials prior to beginning the installment. This includes measuring tapes, utility blades, screwdrivers, drywall screws, joint substance, and drywall panels. Having everything conveniently available will certainly simplify the procedure and avoid unnecessary disturbances.
Gauging and Reducing Drywall
Before proceeding with the drywall installation, it is necessary to precisely gauge and cut the drywall panels. This action is crucial as it makes certain that the panels fit properly and minimizes the demand for excessive changes or wasted materials. To begin, collect the necessary devices, including a determining tape, T-square, utility knife, and straightedge.Beginning by gauging the measurements of the wall or ceiling where the drywall will certainly be mounted. Step the elevation and size of each section, representing any type of openings such as doors or windows. It is necessary to be accurate with your dimensions, as also tiny mistakes can cause significant problems throughout setup.
Following, move the dimensions onto the drywall panels. Utilize a pencil and the t-square to note the dimensions precisely. Confirm your measurements prior to cutting to stay clear of any kind of errors.
When cutting the drywall, utilize an energy knife to rack up the front paper layer along the marked lines. Break the panel along the racked up line by pressing strongly on the backside. After breaking, make use of the utility blade to reduce through the staying paper layer.
Remember to wear safety and security goggles and handwear covers while reducing the drywall to protect on your own go to this website from any possible injuries - drywall contractor fresno. By precisely determining and reducing the drywall panels, you can make sure a smoother setup process and a professional-looking result
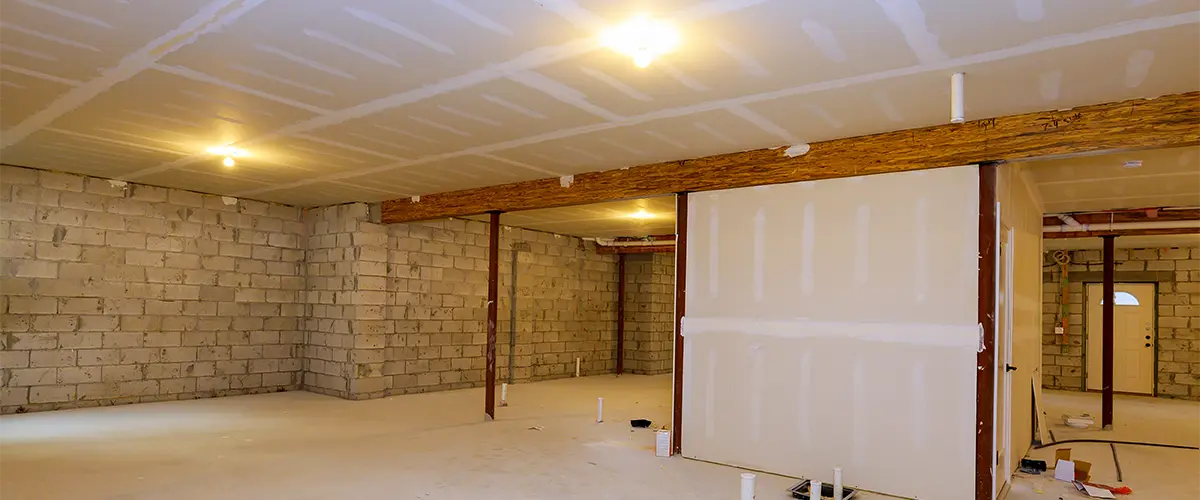
Putting Up and Securing Drywall
To begin the process of setting up and safeguarding drywall, prepare the required products and tools. You will certainly need drywall sheets, an utility blade, a gauging tape, a straightedge, a rasp, a drywall screw weapon, screws, joint substance, a trowel, and sandpaper. Start by measuring the dimensions of the area where the drywall will be installed. Make use of a straightedge and an utility blade to rack up the drywall along the measurement lines. Snap the drywall along the racked up lines, and utilize the rasp to smooth the sides. Setting the drywall sheets against the wall or ceiling, ensuring they fit comfortably. Utilize the drywall screw gun and screws to affix the drywall to the studs or ceiling joists. Location the screws every 12 inches along the edges and every 16 inches in the area. Apply joint compound over the joints and screw openings using a trowel, and allow it to completely dry. Sand the dried substance until it is smooth and level with the bordering drywall. Repeat the procedure for each and every sheet of drywall till the entire location is covered.Finishing and Sanding the Drywall
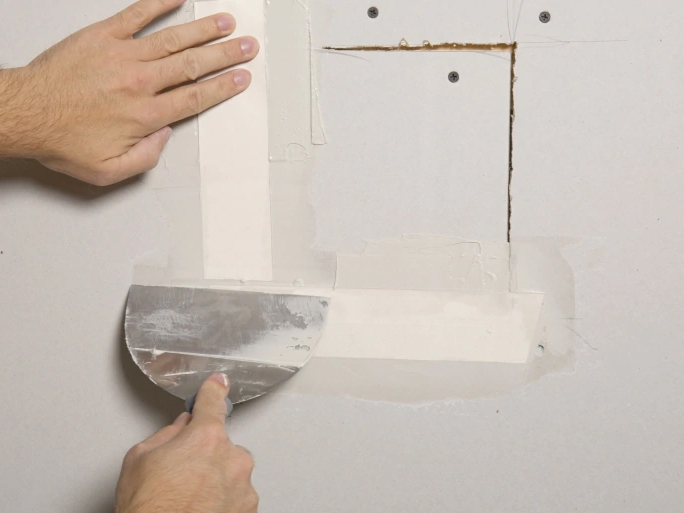
After safeguarding the drywall and setting up, the following action in the process is to end up and sand the surface area to achieve a smooth and smooth finish. Completing the drywall involves using joint substance, commonly referred to as mud, to cover the joints and screw holes. The joint substance is spread out over the joints with a trowel, making sure that it is smooth and also. It is essential to apply multiple slim layers, allowing each coat to completely dry prior to using the next. This assists to produce a uniform and durable coating.Once the joint substance is completely dry, sanding is required to achieve a sleek and smooth surface. It is advised to utilize a fining sand pole or fining sand block to ensure an even and regular sanding.
During the sanding procedure, it is vital to use a dust mask and protective eyewear to stop inhaling dirt fragments. After read this article sanding, the surface must be tidy and complimentary of any dirt or debris prior to proceeding to the following step, which is priming and painting the drywall.
Final Thought
In verdict, drywall installment is a process that calls for careful measuring, cutting, and protecting of the panels. After installment, fining sand the drywall and completing is needed to create a smooth and seamless surface area.Another important product is a drywall screw weapon, which is especially developed for quickly and securely attaching the drywall panels to the studs.Prior to proceeding with the her response drywall installation, it is important to accurately measure and reduce the drywall panels. You will certainly need drywall sheets, an energy knife, a measuring tape, a straightedge, a rasp, a drywall screw gun, screws, joint substance, a trowel, and sandpaper. Use the drywall screw weapon and screws to attach the drywall to the studs or ceiling joists.In final thought, drywall setup is a process that calls for cautious measuring, cutting, and protecting of the panels.
Report this wiki page